Written by Amanda R. McDaniel, MS, BSN, RN
Amanda is a BSN/RN with a MS in Physiology and a BA in English. She worked as a medical writer in the pharmaceutical industry for 11 years before pursuing a career in nursing. She now works as a nurse on a NeuroTelemetry unit and continues to write and edit on a freelance basis. Amanda’s LinkedIn
Walking (aka, ambulating) helps residents maintain mobility and independence, and prevents complications. However, ambulation must be done safely so that the resident does not have a fall or injury. A gait or transfer belt, when properly used, can increase resident safety. Gait belts can vary between facilities, so make sure you know how to use the one in your facility.
Ambulating with a Gait/Transfer Belt
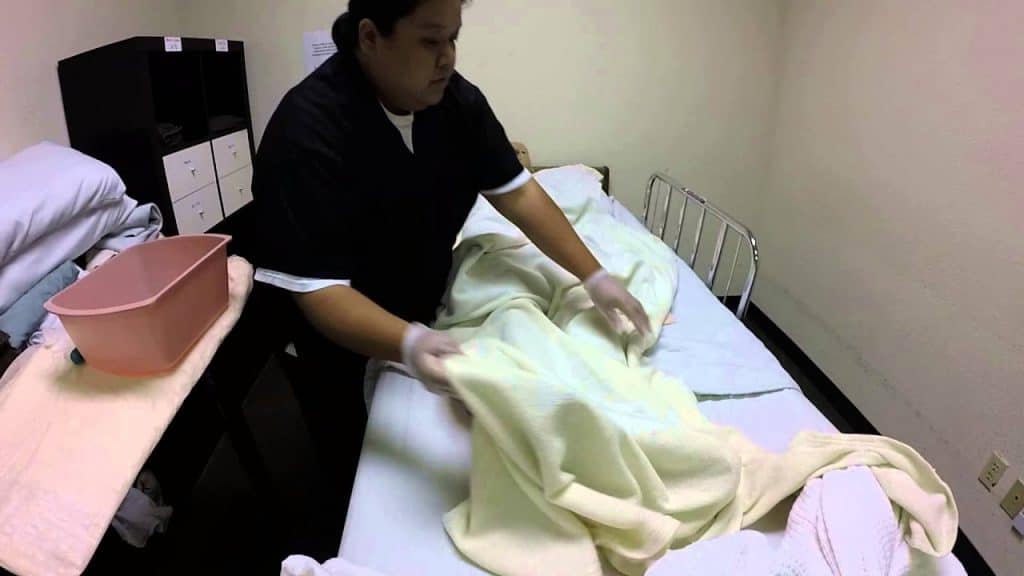
- Prepare for ambulation and gather your supplies.
- Position chairs in the hallway at safe rest points in case the resident tires and needs a break during ambulation.
- Help the resident put on non-skid shoes, slippers, or socks.
- Have an appropriately-sized gait belt. Most gait belts fit residents with waist sizes up to 51 inches. Bariatric belts can accommodate waist sizes up to 71 inches. If in doubt, measure or ask a nurse or physical therapist what size to use.
- Apply the gait belt.
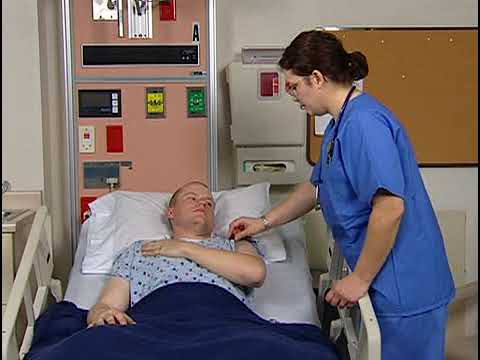
- Help the resident to a sitting position.
- Wrap the belt around the resident’s waist. The belt should always be applied over clothing.
- The metal tip of the belt goes into the buckle through the side with teeth first. Pull the belt through, pass the tip over the buckle, then through the smooth side.
- Pull the belt snug around the resident’s waist. Make sure that female resident’s breasts are not caught under the belt.
- You should be able to slide one open, flat hand under the belt.
- The buckle should be off-center and any excess belt strap should be tucked into the belt.
- Assist the resident to standing.
- Stand in front of the resident with your feet in a stable position and your knees in line with the resident’s. Slightly bend your hips and knees.
- If the resident has a leg that is weaker, the strong leg should be forward.
- Grasp the belt at the resident’s sides.
- On the count of three, rock the resident up to a standing position. Be sure to keep your knees bent. The resident should be doing most of the work. You are just helping guide them.
- Once the resident is standing, ask if they are having any dizziness. Watch them for swaying or any other indicators that they are having trouble standing. If they are, immediately assist them back to the sitting position.
- Once you have verified that the resident is steady, turn so that you are to one side and slightly behind the resident.
- If the resident has a weak side, that is the side you should stand on.
- Hold on to the gait belt with one hand behind the resident and one at the resident’s side.
- Have the resident begin walking. Remind them to place their feet heel first, then toe. Their back should be straight and their head should be up, looking forward.
- Walk the ordered distance with the resident. If the resident tires, have them rest in one of the chairs you placed in the hallway.
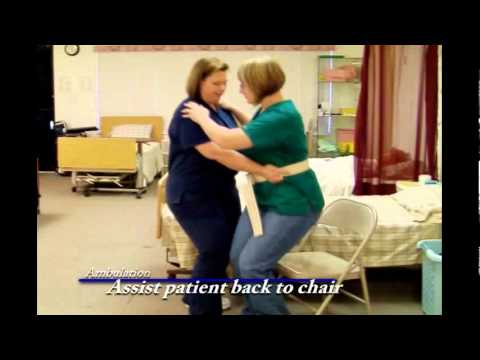
- When the walk is over, return the resident to their bed or chair and remove the gait belt.
- Document the ambulation per institutional or unit policy. Report any difficulty during ambulation to the nurse per policy.
References
Activity and mobility. (2014). In A. G. Perry, P. A. Potter, and W. R. Ostendorf (Eds), Clinical nursing skills & techniques (8th ed., pp. 203-204). St. Louis, MO: Mosby Elsevier.
S. A. Sorrentino, & L. N. Remmert. (2012). Mosby’s textbook for nursing assistants (8th ed., pp 190-192, 502). St. Louis, MO: Elsevier Mosby.